Creating a Customer
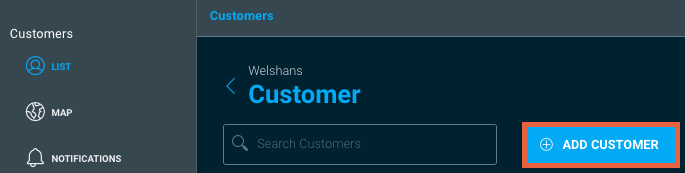
In the left menu, click List. Click the + Add Customer button.
This opens a Customer Information page. Fill in each field so you can properly identify each customer.
For Location Name, enter an appropriate descriptor (see also Adding Locations, below).
As you enter an address, OvrC cross-checks it with Google Maps, providing prompts for potential verified addresses close to your location. Once you see the correct address, click it and OvrC will fill in the remaining details of the address.
In the rare case where the development is so new that Google Maps does not know about it yet, you can use a Plus Code to capture the location using coordinates. Click here for details.
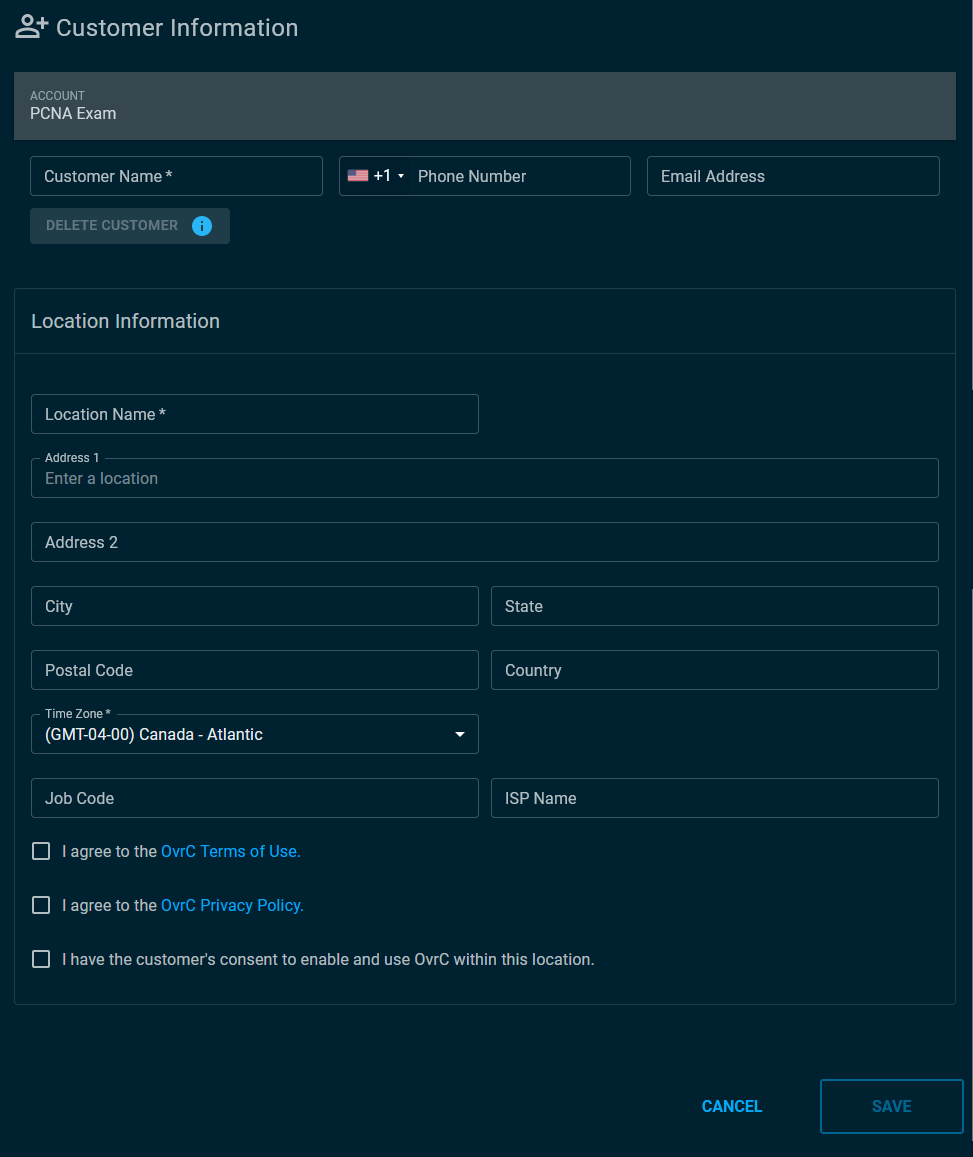
Use the Job Code field to identify and track customers that are on a service plan, under warranty, or in progress. Job codes help you filter your customer list and notifications with just a few keystrokes. This field can be left blank during Customer creation and can be added later.
Before saving the customer's information, you must agree to the OvrC Terms of Use and Privacy Policy and get the customer's consent to enable and use OvrC.
Click Save.
Each customer can have multiple locations. Each location represents a separate project; examples include a guest house on the property, a retail space across town, or a beach house in a different city.
Adding locations
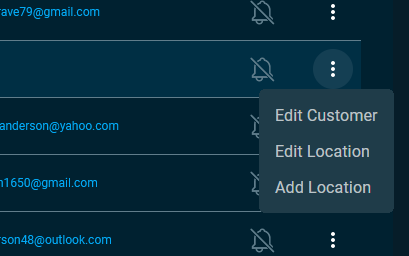
To add a new location, click List in the left-hand menu. Then click the overflow menu at the right of the customer's entry and select Add Location to generate a new project site for that customer with its own device list and settings.